
|
|
|
|
It's January 2, 2004 HAPPY NEW YEAR!!
It's been a busy couple of months since the last installment! My Christmas vacation is almost at an end and I spent most of it working on the bus. It was 79 degrees here in Texas today and the weather has been pretty good for most of the vacation.
OUTSIDE
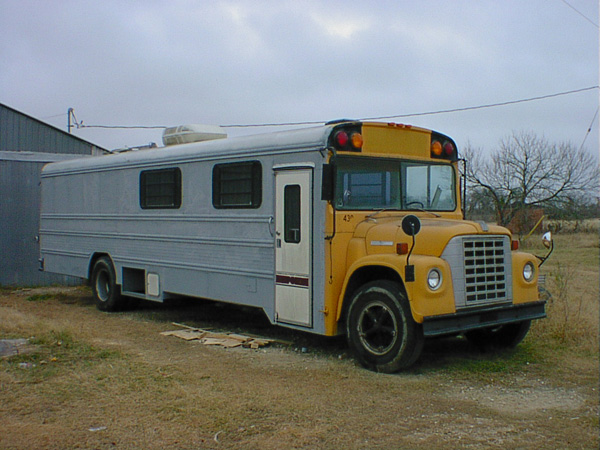
Basic gray primer for most of the outside. The back is primered also. Still haven't removed the front flasher lights and replaced them with sheet aluminum skin. Waiting for a decent day to spray the outside. Still deciding on color for door.
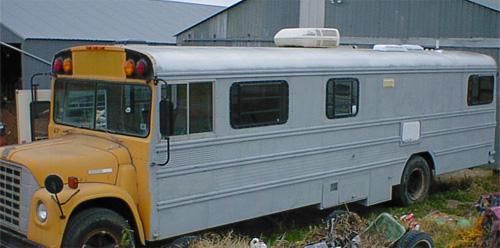
Left side in primer gray. Added the vent for the cook top behind third window on this side. Still have a little more work to do on this side.
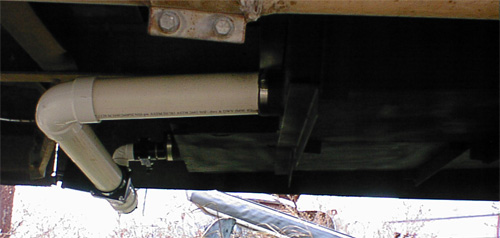
Black and gray tanks mounted and plumbed for drainage. I still need to hang the pipes from the frame, but other than that, they are ready for use.
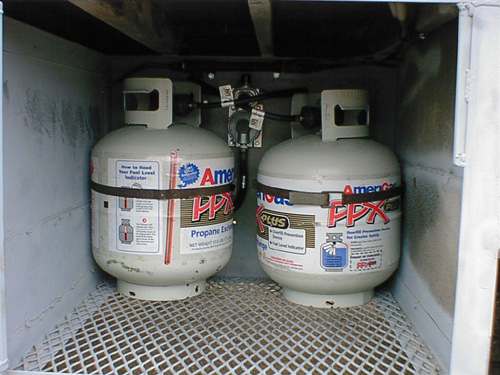
BBQ sized tanks so they are easy to get filled ANYTIME you need. There is room for two more in front of the ones in use. I may carry one extra, but probably not two. There is a new automatic regulator and new hoses in the back. Tanks are mounted using the straps from the 5th wheel. LP is not something to play around with. If you are not sure of your components, replace them.
INSIDE
The Plan
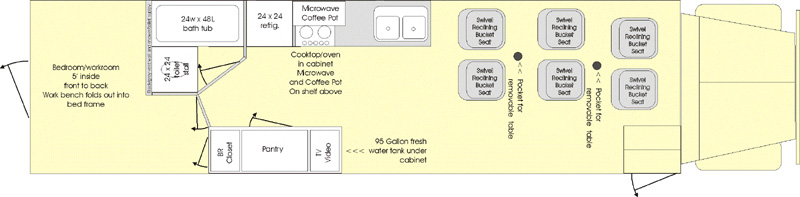
Here is the "general idea" floor plan. This was drawn in the summer before any demolition/construction started - except removing all those seats. I tried to get everything BEFORE I started construction so I could measure the parts, then fit them into place in "the plan". Having the trailer helped quite a bit as I could measure the holes that most of the parts came from and had a wiring example, too! The seats are a matching set of reclining bucket seats from a few Toyota Camrys that previously met their maker and will be mounted on swivel mounts. There will also be two removable tables mounted between the seats. The seats can serve multiple duty as seat belt equipped rider seats, living room furniture, dining room seats, kick back and take a nap, etc. In the final build, the two right seats behind the driver and co-pilot were moved over near the right side wall and the center was left open for inflatable mattresses, paintball team gear, a place to throw some extra folding chairs when parked. This project was never intended to be a full timing rig. Just a completely self contained environment to take to paintball tournaments, scenario games, on vacation, etc. for up to a week at a time, but in comfort!
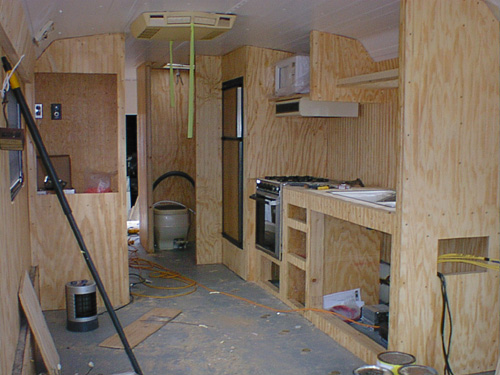
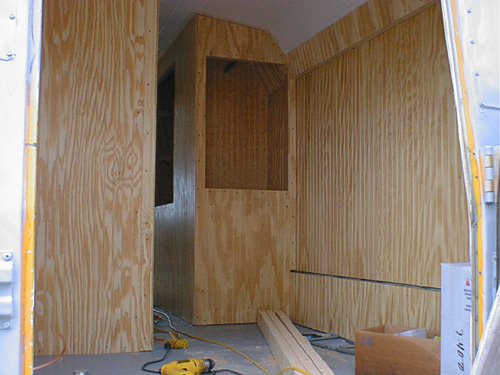
Standing at the front door looking back. The hole in the front of the kitchen cabinet is for the remote controls for the pump, genset, battery charger, Charge Wizard and switches for TV/microwave/coffee pot. Most of the electronic components are mounted under the cabinet. The space above the stove/oven is for a microwave and coffee pot. The refrigerator is right behind the stove/oven. The bathroom is behind the kitchen and the master bedroom at the very back. The cabinet on the left is for the TV/entertainment center. Notice the ribbons are hanging from the AC so I don't walk into it.
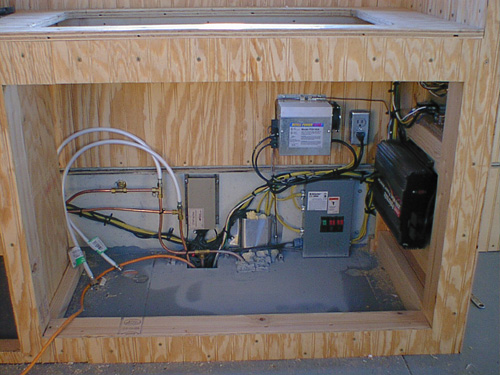
Here is a shot of most of the electronics. Mounted on the wall, from left to right: Battery charger with a Charge Wizard that plugs into it - the display unit mounts on the remote panel, the switched power plug for the charger, the 2K/4K Inverter is for light coffee/microwave/TV use when I don't want to start the genset and disturb the neighbors, the control panel is above the Inverter. The copper is for the water - notice the two tee fittings with flex lines to hook up to the sink. To the right of the copper tubing is the 12V distribution/fuse panel. The 120 breaker/panel is on the right of that. If you look closely at the 120 panel, you can see the shore power cable exiting on the left and going down into the bays below. It can be plugged into the genset plug or to shore power if available.
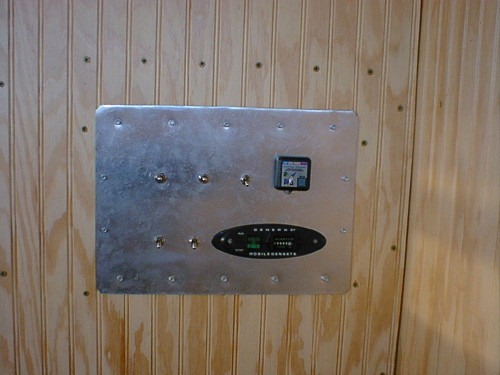
This is the control panel for the electronics. The switches are: top, left to right - coffee/microwave power switch, middle off, down for inverter, up for shore power/genset - next is the entertainment center switch, same positions as previous - next in charger on/off - far right is the Charge Wizard display for charger. Bottom, left to right, - spare on/off - on/off for 12v pump - far right is the remote start/stop and hour meter for genset.
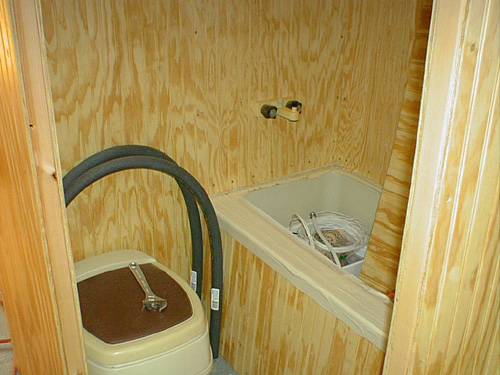
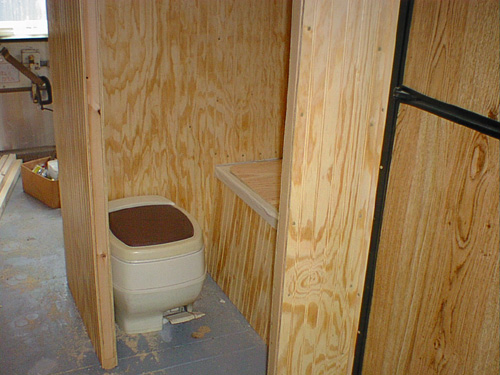
That panel between the tub and the toilet is removable to access the plumbing for the shower/tub and toilet. That plywood in the tub is a cover for the tub as I was sealing the walls with marine polyurethane.
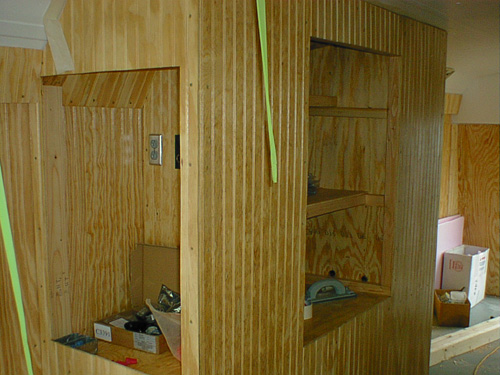
Here is a shot of the TV/Entertainment center on the left and the pantry on the right. The shelf arrangement in the front is still up in the air as we have to secure the TV and whatever else we put in there! The back of this cabinet is the closet for the master bedroom. The 95 gallon freshwater tank and pump are located in the bottom of the cabinet. The pump is mounted with flex hoses and isolated on double rubber mounts to keep noise down.
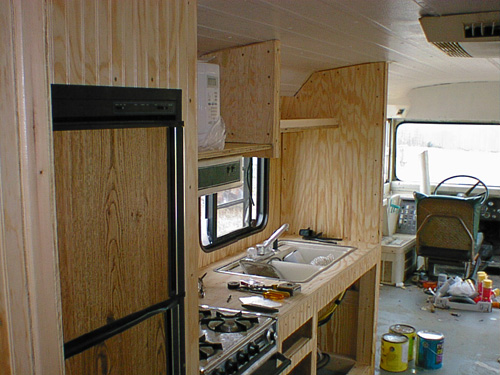
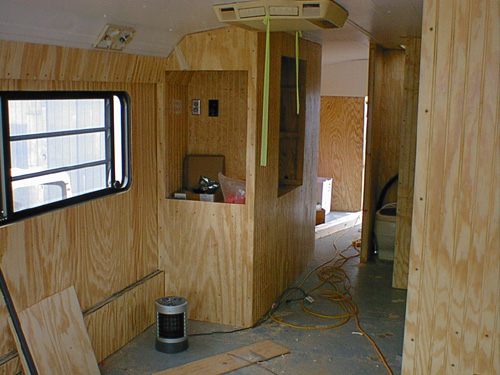
Here is a shot of the kitchen and drivers seat looking from the bedroom door. The drivers seat will be replaced with a reclining bucket seat with a swivel base attached. The doors and drawers for the kitchen are being fabricated. The counter top will have the Formica added later. It is the light butcher block pattern and is stored in the shop waiting to be installed. The stove/oven and sink are just sitting in place for fit check - and they are safe there.
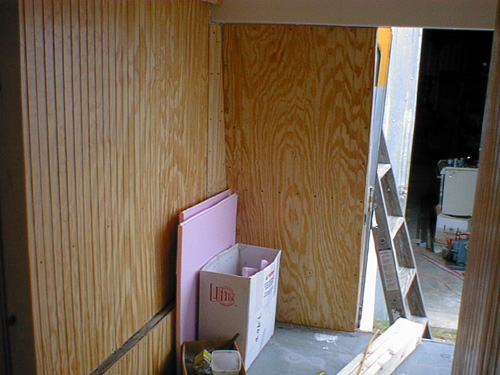
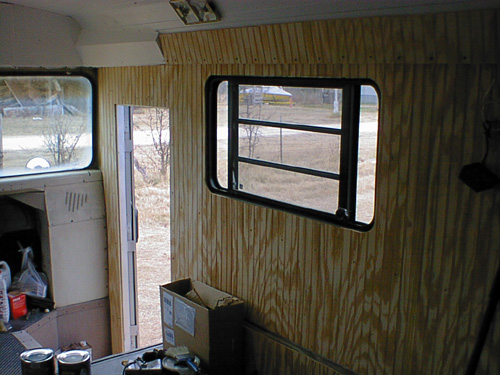
This is a shot of the back left side of the bedroom. The upper window on each side has been removed, covered with sheet metal on the outside, insulated with 1 1/2 inches of foam and covered with satin bead paneling. The bottom window has also been removed from the door and it has been skinned and insulated. The bottom of the door will be paneled with satin bead on the inside.
This is a shot of the master bedroom closet. It's not too big, but we are week at a timers, not full timers - at this point anyway!
Another shot of the TV/entertainment center with the window to the left. We are still considering building a two person booth in front of the TV.
Shot of the right front entry door area.
Another shot of the bathroom area.
These pictures were taken January 2, 2004 work is continuing. |
Send mail to info@pettypb.com with
questions or comments about this web site.
|