
|
|
|
|
It's March 12, 2004 Getting Closer...
OUTSIDE
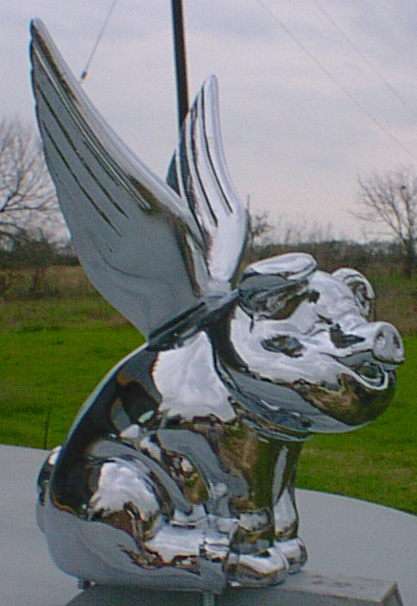
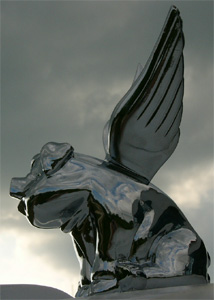
The flying pig sitting on the hood.....the outside is still in primer, so the pig is just sitting there grinning away for this photo.
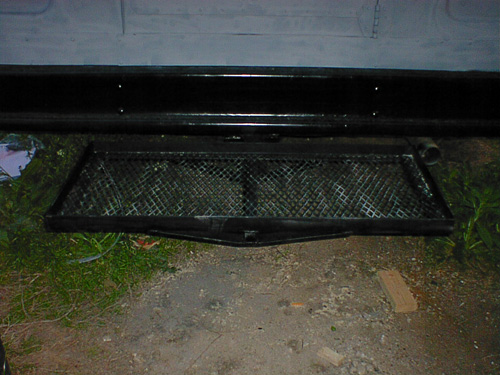
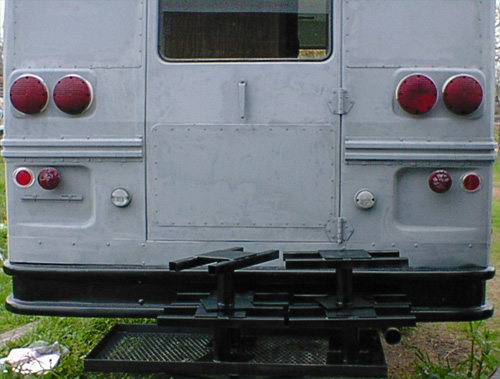
This is the heavy duty carrier/back porch I built. It is 48" wide and 22" deep. It is plugged into a nice heavy duty 2" square receiver for universal trailer hitch use. I ran out of black spray paint before I finished shooting over the primer......
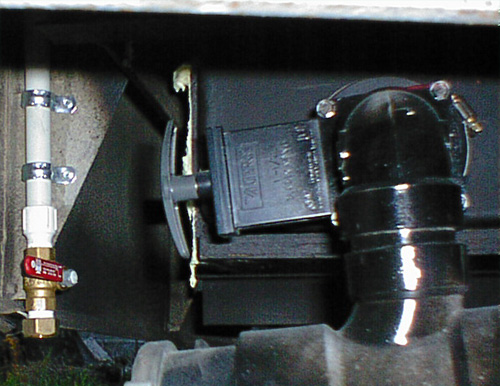
On the left of the picture is the flush fitting for the black water tank. Screw a hose into the fitting, turn on the hose, then turn on the 1/4 turn valve to flush the black tank. The dump valve for the grey water tank is in the center of the picture.
Here is a picture of the flush line going into the black tank. There is a nozzle on the inside of the pipe to help flush out the black tank.
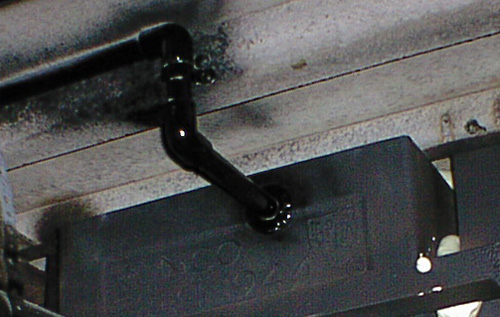
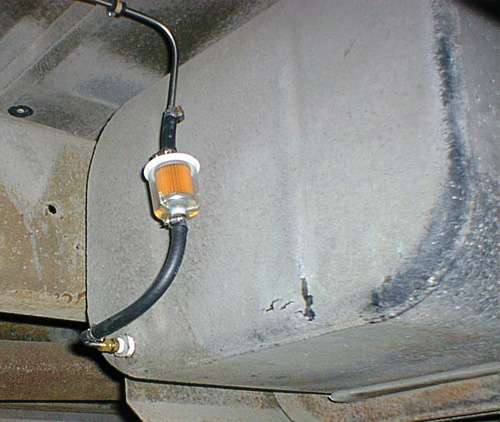
Here is a picture of the tap into the bus gas tank for the genset. There is a short riser on the inside of the tank. This should leave 8 to 10 gallons in the gas tank when the genset runs out of gas. The gas line going back to the genset is stainless steel and mounted with rubber insulated mounts so it doesn't rub thru.
INSIDE
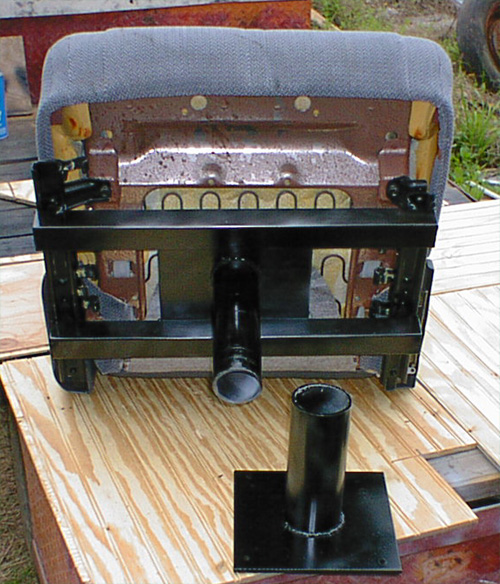
Here is a shot of the back carrier with the 6 swivel seat mounts for the Toyota Camry seats ready to install on the seats. The plate that bolts to the floor to hold the seats is 1/4" mild steel and will bolt down with 4 - 5/16" bolts with 2 inch fender washers under the floor. There are 6 new seatbelts to go with the new seats that bolt down with 1/2" bolts with 2 1/2 inch fender washers. The window in the door is the only one left on back. The other three have been skinned on outside, insulated with 1 1/2" sheet foam, then paneled on the inside with satin bead, then sealed with marine polyurethane.
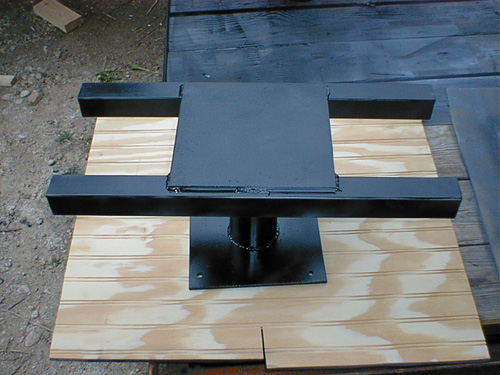
Here is a close up of one of the seat mount swivels. The square tubing goes across the existing seat frame of the Camry seats and welds to them for secure mounting. That pipe the swivel is made out of is 2 1/2" ID heavy wall on bottom with 2" OD heavy wall on top. Heavy duty stuff.
Here is a shot of one of the seats with the seat mount welded to the seat. I bought a matched set of 6 reclining bucket seats removed from Toyota Camrys. I got them from A1 Imports in Austin, Texas. Great folks to deal with if you need used auto parts - or some nice seats for your bus!
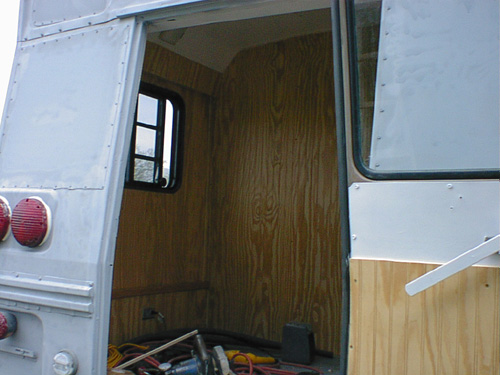
Here is a shot of the inside of the bedroom looking in from the back. Pardon the mess, I am moving all the tools out the back as I complete the front......
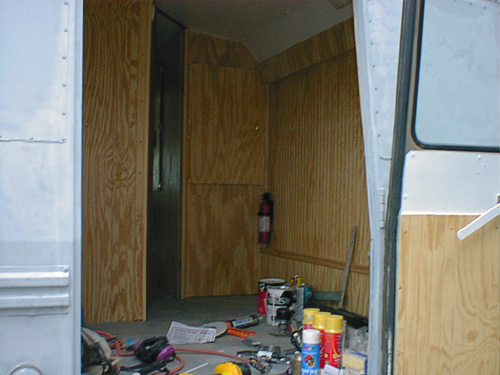
Here is a shot of the other side of the bedroom. The closet is above the fire extinguisher. The center of the back door has been insulated and paneled on the inside. As of now, almost all of the wood work is complete on the inside.
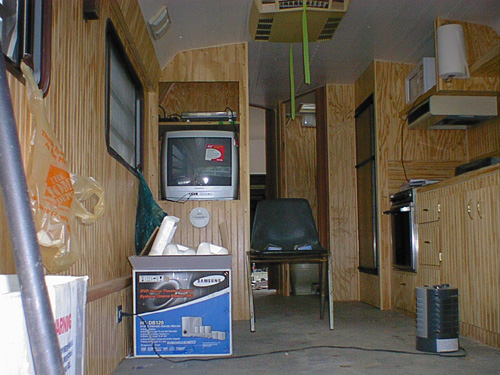
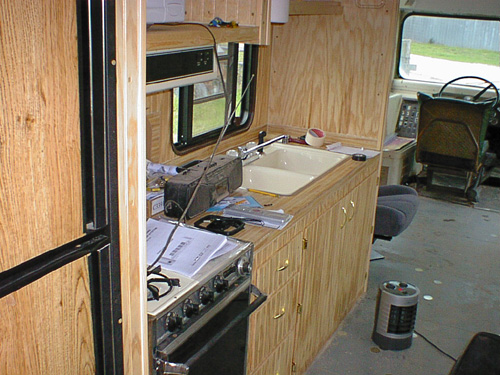
Here is a shot of the living room and kitchen area. The TV and surround sound Home Theater unit are being test fit and a shelf has been added to support the amplifier, some of the speakers and input switch. I need to put a piece of trim on the front of the shelf, then add straps for the TV and amplifier and it's complete. The kitchen doors and drawers are complete in this photo also. The interior is coming together pretty quickly now. I still need carpet, curtains, tables, the seats and belts mounted and the bed in the bedroom.
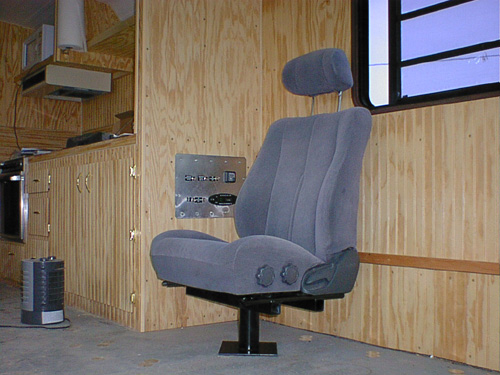
Here is a shot of the sink area cabinets and a good look at one of the seats. The 3 drivers side seats have the adjustable seat bottom for comfort. They look pretty nice just sitting there and should be comfortable on long trips. The also recline and the headrests adjust up and down and forward and backwards. May have to test one of these out with a "forty winks" test!
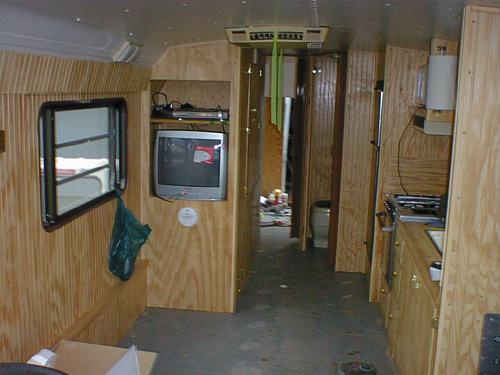
This is looking forward from the pantry area. That old drivers seat will soon be replaced with one of the Camry seats. It's being used to drive the bus around up until now, so it has remained in place. I clean it out, and then work some more and make a bigger mess to clean up again.......
Looking straight back down the center and out the back door. Getting close!
These pictures were taken March 12, 2004 work is continuing. |
Send mail to info@pettypb.com with
questions or comments about this web site.
|